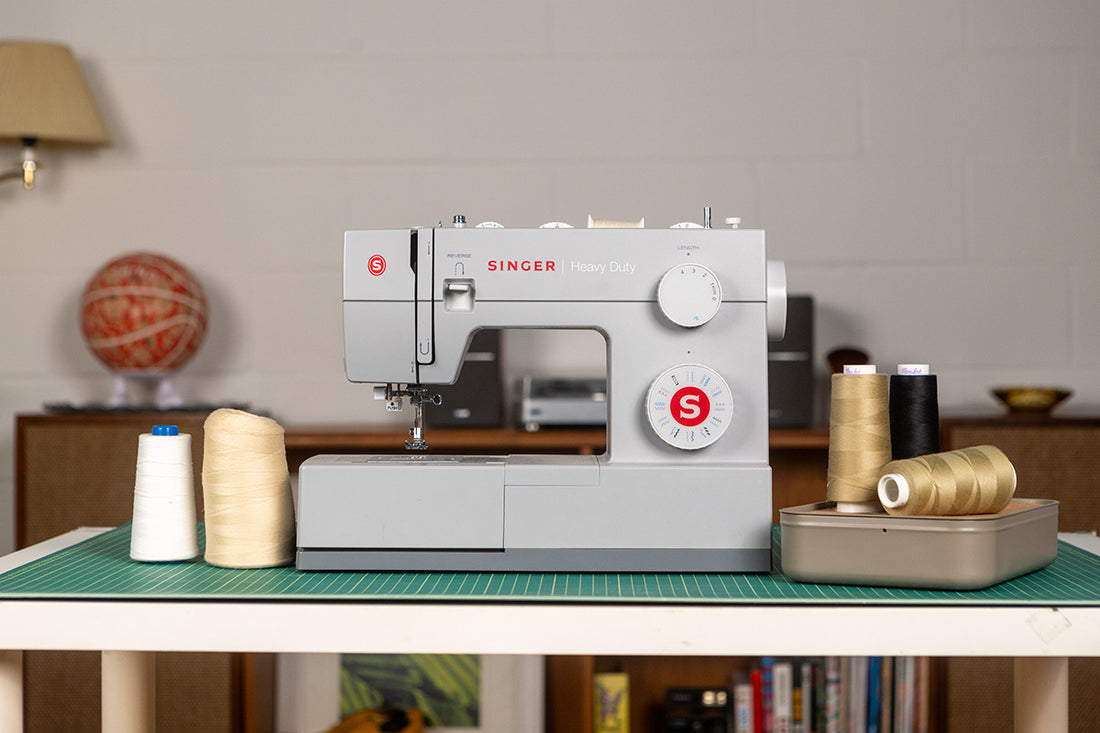
Sewing can be an incredibly rewarding hobby, whether you're making clothes, home decor, or simply mending items around the house. However, if you're just starting out, the sight of a sewing machine can be intimidating. Don't worry; I'm here to walk you through the basics, from understanding the parts of your machine to mastering essential techniques. In this article, the Singer Heavy Duty 4423 is used, which we selected as the best beginner sewing machine, but most home machines are very similar.
We also have a video that goes through this same guide but with more detailed visuals. Check it out right here:
Understanding Your Sewing Machine
Let's start with a basic overview of how a sewing machine works. Think of it as having two main functions: creating stitches and moving the fabric. Here's a breakdown of the key components:
Needle: The needle is what pierces the fabric, creating stitches. It moves up and down rapidly, guided by the machine.

Spool Pin: The roll of thread you’ve chosen for your project sits on the Spool Pin, and is where you’ll start when threading the top thread.
Bobbin: This is where the bottom thread is housed. It sits in the bobbin case beneath the throat plate.

Bobbin Winder: This is where you wind thread onto the bobbin for the bottom thread.

Feed Dogs: These are like little teeth that grip the fabric, moving it forward as you sew. They work in tandem with the presser foot.

Presser Foot: This holds the fabric in place against the feed dogs. You can lower or raise it using a lever.

Control Dials: These adjust settings such as stitch type, stitch length, stitch width, and tension.

Reverse Lever: Engaging this lever makes the machine stitch backwards, which is used when doing a backstitch to start or end a stitch.

Hand Wheel: This wheel is used to manually move the needle up or down for when a project calls for more a more precise technique, like stitching a button.

Setting Up Your Sewing Machine
Before you start sewing, you'll need to set up your machine properly. Here's how to wind your bobbin and thread your machine:
Winding the Bobbin
- Place your spool of thread on the spool pin.
- Guide the thread through the bobbin winder and around the bobbin.
- Hold the thread end, engage the bobbin winder, and start winding using the foot pedal
- Once the bobbin is full, snip the thread and remove it from the winder.
- Insert the bobbin into the bobbin case, following the machine's instructions.
Threading the Machine
- Load your thread onto the spool pin.
- Follow the numbered guides on your machine to thread the top thread.
- Use the automatic needle threader if available, or thread the needle manually.
- Make sure both the top and bottom threads are properly threaded and leave a few inches of excess.
Adjusting Machine Settings
Now that your machine is threaded, it's time to adjust the settings for your project:
Stitch Type
Choose the appropriate stitch type for your fabric and project. Common options include straight stitch, zigzag stitch, buttonhole stitch, and stretch stitch.
Stitch Length

Adjust the stitch length based on the thickness and type of fabric you're using. Shorter stitches are ideal for lightweight or stretchy fabrics, while longer stitches work well for thicker materials.
Tension Control
The tension control dial regulates the tightness of the stitches. Experiment with different tension settings to achieve balanced stitches where only one thread is visible on each side.
Presser Foot Pressure
Some machines allow you to adjust the pressure applied by the presser foot. Test different pressure levels to ensure even fabric feeding.
Pro Tip: I always use scrap fabric that is similar to what I am sewing to test the machine settings I plan to use so that I don’t waste my project fabric.
Sewing Basics for Beginners
With your machine set up, it's time to start sewing! Here are some essential tips for beginners:
- Always backstitch at the beginning and end of your seams to secure the stitches.
- Keep your fingers away from the needle and stitch line to avoid accidents.
- Use slow, even pressure on the foot pedal to control your sewing speed.
- Let the feed dogs do the work; don't force or pull the fabric.
- Watch the seam guide, not the needle, for straight stitches.
- Remember to leave a few inches of thread before and after sewing.
Learning to use a sewing machine may seem daunting at first, but with practice and patience, you'll soon master the basics. Take your time to familiarize yourself with your machine and don't be afraid to experiment with different settings and techniques. Embrace the mistakes you make, because they’re the best way to learn. Before you know it, you’ll be using your machine like it’s an extension of yourself.
If you’re interested in learning a more advanced technique, check out this article that teaches you how to use a sewing machine to sew on buttons.


